
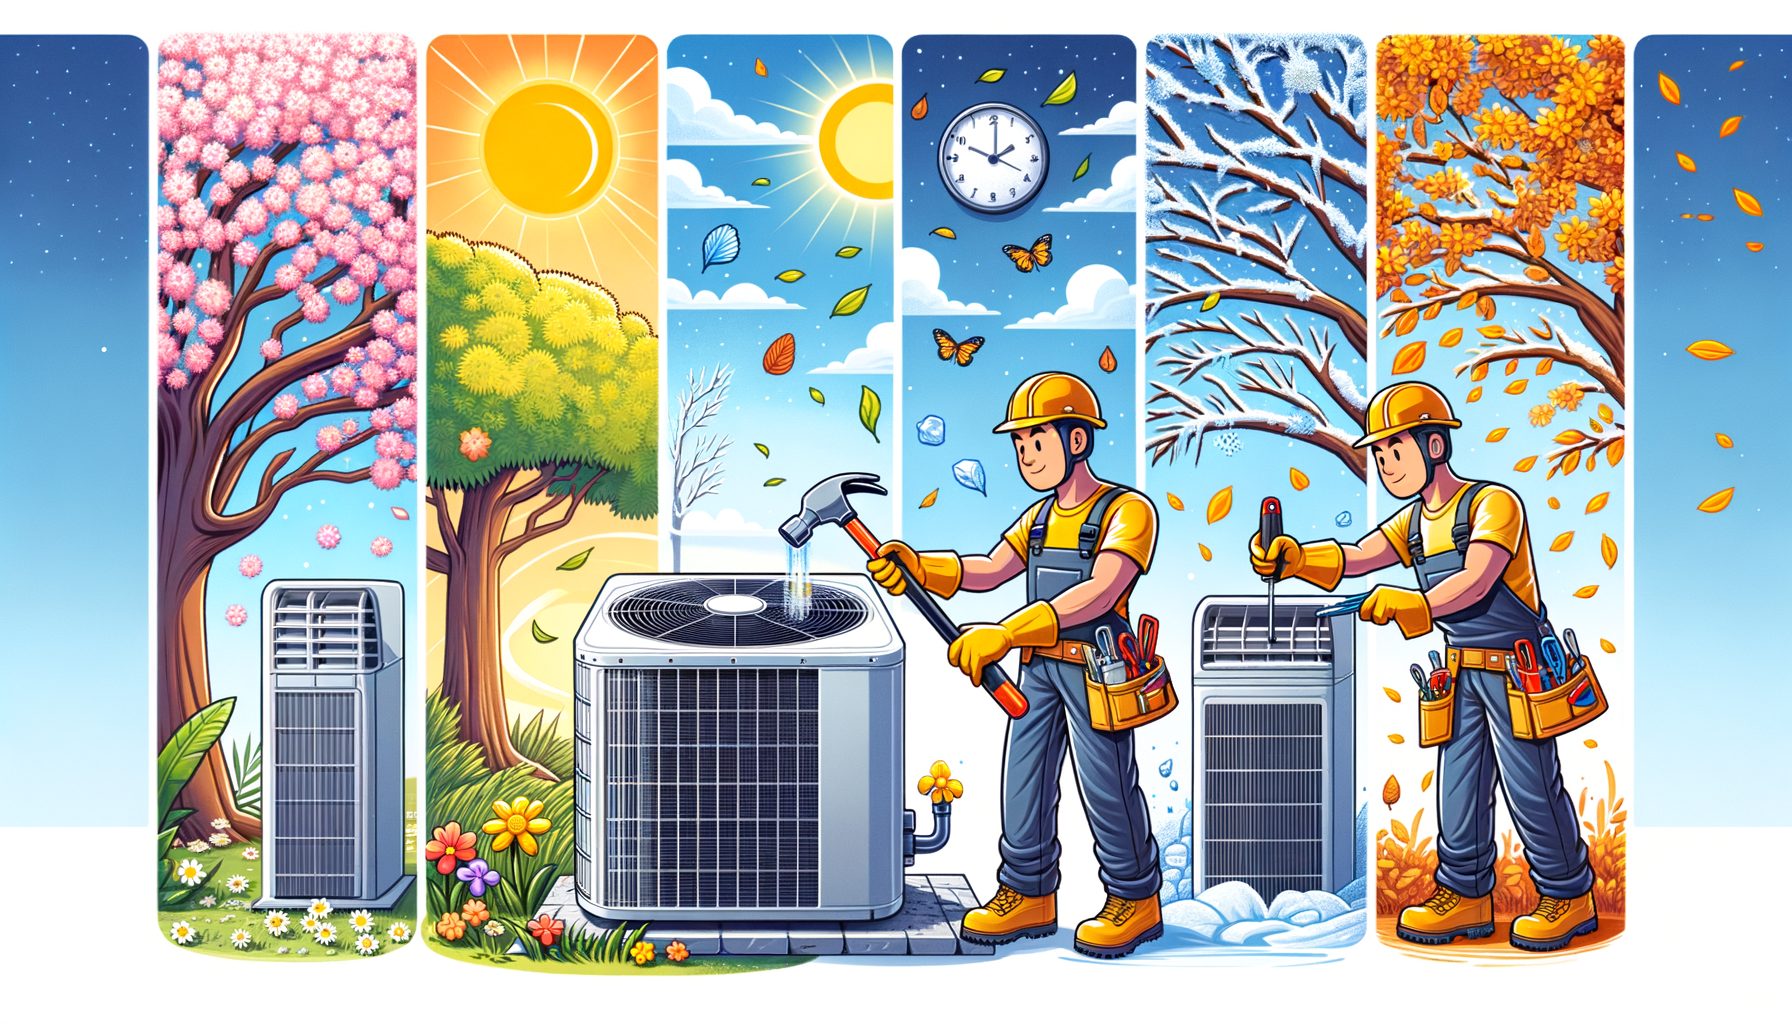
Seasonal air conditioner maintenance is the smart, low-cost habit that keeps your home cool, your energy bills down, and your air healthy. The main problem most people face is waiting until the first heat wave to discover weak airflow, warm air, or a surprise breakdown. Expect a clear, step-by-step plan to prevent that. You’ll learn exactly what to do in spring, mid-summer, and fall/winter, plus pro tips and a quick checklist you can follow in under an hour. No matter if you use a central AC, a split system, or a heat pump, a seasonal approach helps you save energy, extend equipment life, and stay comfortable all year.
Why seasonal AC maintenance matters: energy, air quality, and fewer breakdowns
Prevention sits at the heart of seasonal AC maintenance. Most performance problems—like clogged filters, dirty coils, and restricted airflow—develop slowly and silently. As they accumulate, your system must run longer, parts overheat, and comfort drops. According to the U.S. Department of Energy, replacing a dirty filter can lower your air conditioner’s energy consumption by 5%–15%—a small task with a real impact. Beyond energy, clean filters and coils support better indoor air quality and reduce the chance of mold growth in humid months.
Think of your AC as a team of parts that must work together: the outdoor condenser, indoor evaporator coil, refrigerant loop, blower fan, ductwork, and thermostat. Let one part be neglected—for example, a clogged condensate drain—and it can trigger water leaks, musty odors, or even damage to your home. Technicians frequently report that simple issues like blocked outdoor coils or bent fins cause noticeable efficiency losses. Meanwhile, even well-maintained systems may benefit from a professional tune-up every 12 months to check refrigerant pressures, electrical connections, and safety controls, especially in high-use or dusty environments.
Here’s a quick snapshot of tasks that deliver outsized results:
| Task | Suggested Frequency | Time Needed | Potential Energy Impact |
|---|---|---|---|
| Replace/clean air filter (MERV 8–13) | Every 1–3 months | 5–10 minutes | 5%–15% energy savings (source: DOE) |
| Rinse outdoor condenser coil | Seasonally | 15–30 minutes | Improves heat transfer and airflow |
| Clear condensate drain | Seasonally | 10–20 minutes | Prevents water leaks and microbial growth |
Proper maintenance also protects health. The U.S. EPA highlights that clean HVAC systems and good filtration help reduce particulate matter and allergens indoors. If you have pets, live in a polluted city, or experience seasonal smoke, upgrades such as a higher-MERV filter (check manufacturer limits) or a dedicated air purifier can make a noticeable difference in comfort and well-being. For standards-based guidance, you can review recommendations from ASHRAE and regional energy agencies.
Spring startup checklist: get your system ready before the first heat wave
Spring is the perfect time to prepare your AC for heavy use. A clean, tuned system will start faster, cool more evenly, and use less electricity when temperatures spike. Follow the checklist below to prepare confidently:
1) Power and safety: Power should be switched off at the outdoor disconnect and indoor breaker before you begin. Panels must be secure, and wiring should look intact. Notice anything burned or frayed? Stop there and book a professional.
2) Outdoor condenser care: Rinse the outdoor coil gently with a garden hose from the inside out to flush dirt and pollen. High pressure shouldn’t be used. Maintain 60–90 cm (2–3 ft) of clearance around the unit. Trim vegetation, remove leaves, and, if needed, straighten bent fins with a fin comb to improve airflow.
3) Filter and airflow: Replace or clean your filter. Most homes do well with MERV 8–11; allergy-sensitive households might choose MERV 13 if the blower can handle the added resistance. Keep supply and return vents fully open and free of furniture or rugs to prevent pressure imbalances.
4) Indoor coil and drain: Check the condensate drain line and pan. A cup of white vinegar or a manufacturer-approved cleaner poured into the drain helps reduce slime and algae. Watch for rust or water staining around the air handler—early warnings of a clog. If the indoor coil looks dirty, schedule a professional cleaning; DIY chemicals used improperly can damage fins or coatings.
5) Thermostat and test run: Update your thermostat schedule for the warmer season. Aim for around 24–26°C (75–78°F) when home and higher when away. Run a test cycle for 10–15 minutes: confirm cool air at the vents, steady airflow, and normal sounds from the outdoor fan and compressor.
6) Ducts and leaks: Inspect exposed ducts in attics, basements, or closets. Small leaks can be sealed with mastic or UL-181 foil-backed tape (not cloth duct tape). Leaky ducts may waste 20% or more of cooling output, especially in unconditioned spaces. If rooms cool unevenly, consider a professional duct test.
7) Pro tune-up (optional but valuable): A certified technician can check refrigerant pressures, superheat/subcooling, capacitors, contactors, and electrical integrity—tasks that are tough for most homeowners. For systems using older refrigerants or those over 10–12 years old, regular checks can prevent costly mid-season breakdowns. To understand refrigerant regulations and environmental impacts, see the EPA’s guidance on Significant New Alternatives Policy (SNAP).
Mid-summer performance boost: keep efficiency high in peak heat
Once the season is underway, the goal becomes sustaining top performance, especially during heatwaves when systems run longest. Focus on airflow, temperature control, and humidity management to stay comfortable without overpaying.
Filter vigilance: In dusty or high-pollen environments, filters clog faster than you expect. Check monthly and replace as needed. Restricted airflow can overcool the evaporator coil, leading to icing and poor cooling. If you see frost on pipes, then this: turn the system off, set the thermostat to “Fan” for 30–60 minutes to thaw, replace the filter, and resume cooling. If icing returns, call a pro to inspect refrigerant charge and airflow.
Thermostat strategy: Use a smart thermostat to set schedules and reduce runtime when you’re away. Avoid extremely low setpoints (e.g., 18°C/64°F) to “cool faster”—ACs cool at a fixed rate, and drastic setpoints just increase runtime. Ceiling fans help you feel 2–3°C cooler at the same thermostat setting; switch fans off when you leave a room.
Shade and ventilation: Close blinds or curtains during peak sun to cut heat gain. For the outdoor condenser, shade can help—provided airflow isn’t blocked. A nearby tree or shade structure with proper clearance lowers condensing temperatures and improves efficiency.
Humidity matters: Aim for 40%–60% relative humidity. In very humid climates, a dedicated dehumidifier or a heat pump with enhanced dehumidification modes can help. High humidity makes rooms feel warmer and strains your AC. Ensure the condensate line drains freely—if you notice gurgling sounds or water near the air handler, fix it immediately.
Listen for changes: New rattles, buzzing, or grinding from the outdoor unit can signal a failing fan motor or loose parts. Indoors, short-cycling (frequent starts and stops) may indicate a control issue or incorrect refrigerant charge. Catching these symptoms early often makes the difference between a quick fix and a major repair. For additional energy-saving tips, check ENERGY STAR.
Fall and winter: smart shutdown (or switch-over) to protect your system
As cooling demand drops, shift from “peak performance” to “protect and preserve.” Your approach will differ depending on whether you have a cooling-only AC or a heat pump that also heats.
Cooling-only AC: After the last hot spell, do a final cleaning. Replace the filter if it’s near the end of life, rinse the outdoor unit, and clear the drain line. Run the system for 10–15 minutes to dry the coil and pan, then shut it down at the outdoor disconnect to prevent accidental starts during freezing weather. In snowy or debris-heavy regions, place a breathable top cover over the condenser (do not fully wrap the sides) to keep leaves and ice out while allowing airflow and moisture to escape. Inspect monthly for pests and debris.
Heat pumps: Leave the outdoor unit on if it provides winter heating. Maintain clearances so snow or ice doesn’t block airflow. An elevated pad or good drainage helps prevent ice buildup around the base. Learn how the defrost cycle sounds so you don’t confuse it with a fault. Replace the filter and adjust thermostat schedules for heating season.
Ducts and building envelope: Autumn is prime time to tackle energy leaks. Seal obvious duct gaps, upgrade weatherstripping around doors, and check attic insulation levels. Lower heat loss (or gain) means your AC and heat pump both work easier. In many homes, air sealing and insulation deliver larger savings than equipment upgrades alone, according to numerous energy audits reported by local utilities and efficiency programs worldwide.
Off-season checks: Once a month, verify the outdoor unit stays clear, the drain remains open, and no new noises develop on short test runs (for heat pumps). Such light maintenance prevents surprises when next season arrives. For broader indoor air quality tips year-round, review the EPA’s guidance on Indoor Air Quality.
Q&A: quick answers to common seasonal maintenance questions
Q1: How often should I change my AC filter? A: Check monthly during heavy use and replace every 1–3 months, depending on dust, pets, and filter type. If you see visible dust build-up or notice weaker airflow or extra noise, change it sooner. Higher-MERV filters capture finer particles but can increase resistance; follow your manufacturer’s recommendations to avoid straining the blower.
Q2: Do I really need a professional tune-up every year? A: For most homes, an annual visit is wise, especially in hot or dusty regions or if your system is older. Pros can measure refrigerant pressures, test capacitors and contactors, and spot small issues before they cause a breakdown. If your system is new, lightly used, and you handle regular DIY maintenance, you may stretch to every 18–24 months—but monitor performance closely.
Q3: What thermostat setting balances comfort and savings? A: Many households find 24–26°C (75–78°F) comfortable when home, higher when away. Use schedules or geofencing to reduce runtime, and combine with ceiling fans to “feel” cooler without lowering the setpoint. Avoid setting the temperature extremely low to “speed up” cooling; it won’t cool faster and can waste energy.
Q4: How can I tell if I have a refrigerant issue? A: Warning signs include longer cooling cycles, warm air at vents, indoor coil icing, or a hissing sound. However, these symptoms can also be airflow-related. Try a fresh filter and ensure vents are open first. If problems persist, call a licensed technician to check charge and look for leaks—refrigerant handling requires certification and proper recovery equipment.
Q5: Should I cover my outdoor unit in winter? A: If it’s a cooling-only AC in a leaf- or snow-prone area, a breathable top cover can protect from debris. Do not fully wrap the sides; trapped moisture can corrode parts and invite pests. If you have a heat pump that runs in winter, do not cover it—keep clearances for airflow and defrost.
Conclusion: your seasonal game plan for a cooler, cheaper, healthier home
Well, here it is: the big picture. Seasonal air conditioner maintenance prevents the most common comfort and cost problems before they start. In spring, you prep for efficiency—clean coils, clear drains, fresh filters, proper airflow, and a quick test run. Mid-summer is for fine-tuning—watch filters, manage humidity, optimize thermostat use, listen for unusual sounds, and keep the outdoor unit shaded but breathable. In fall and winter, you protect—winterize cooling-only systems, keep heat pumps clear, and strengthen your home’s envelope to ease next year’s cooling load. Each small task compounds into steady comfort, lower bills, and fewer repair headaches.
Take action today: set a recurring calendar reminder for your seasonal checklist, stock a few spare filters, and spend 30–45 minutes getting your system ready. If it’s been over a year since a professional looked at your AC, book a tune-up with a licensed technician and ask them to document readings like superheat, subcooling, and static pressure so you have a performance baseline. Combine these habits with smart thermostat schedules and basic air sealing, and you’ll notice the difference the next time the temperature spikes.
The best maintenance plan is the one you’ll actually follow—simple, repeatable, and timely. Start small, stay consistent, and your AC will reward you with quieter operation, cleaner air, and reliable cooling when it matters most. Ready to level up? Pick one task from this guide and do it right now. Your future summer self will thank you. Which step will you tackle first—the filter, the outdoor coil rinse, or the thermostat schedule?
Outbound Resources:
– U.S. Department of Energy – Maintaining Your Air Conditioner: energy.gov
– ENERGY STAR Cooling Tips: energystar.gov
– ASHRAE Standards and Guidance: ashrae.org
– EPA Indoor Air Quality: epa.gov
– EPA Refrigerants and SNAP: epa.gov/snap
Sources:
– U.S. Department of Energy, “Maintaining Your Air Conditioner.”
– U.S. Environmental Protection Agency, “Indoor Air Quality (IAQ)” and SNAP program pages.
– ENERGY STAR, “Cooling and Thermostat Best Practices.”
– ASHRAE public guidance on HVAC and ventilation.